
Run your Minecraft servers from one friendly panel.
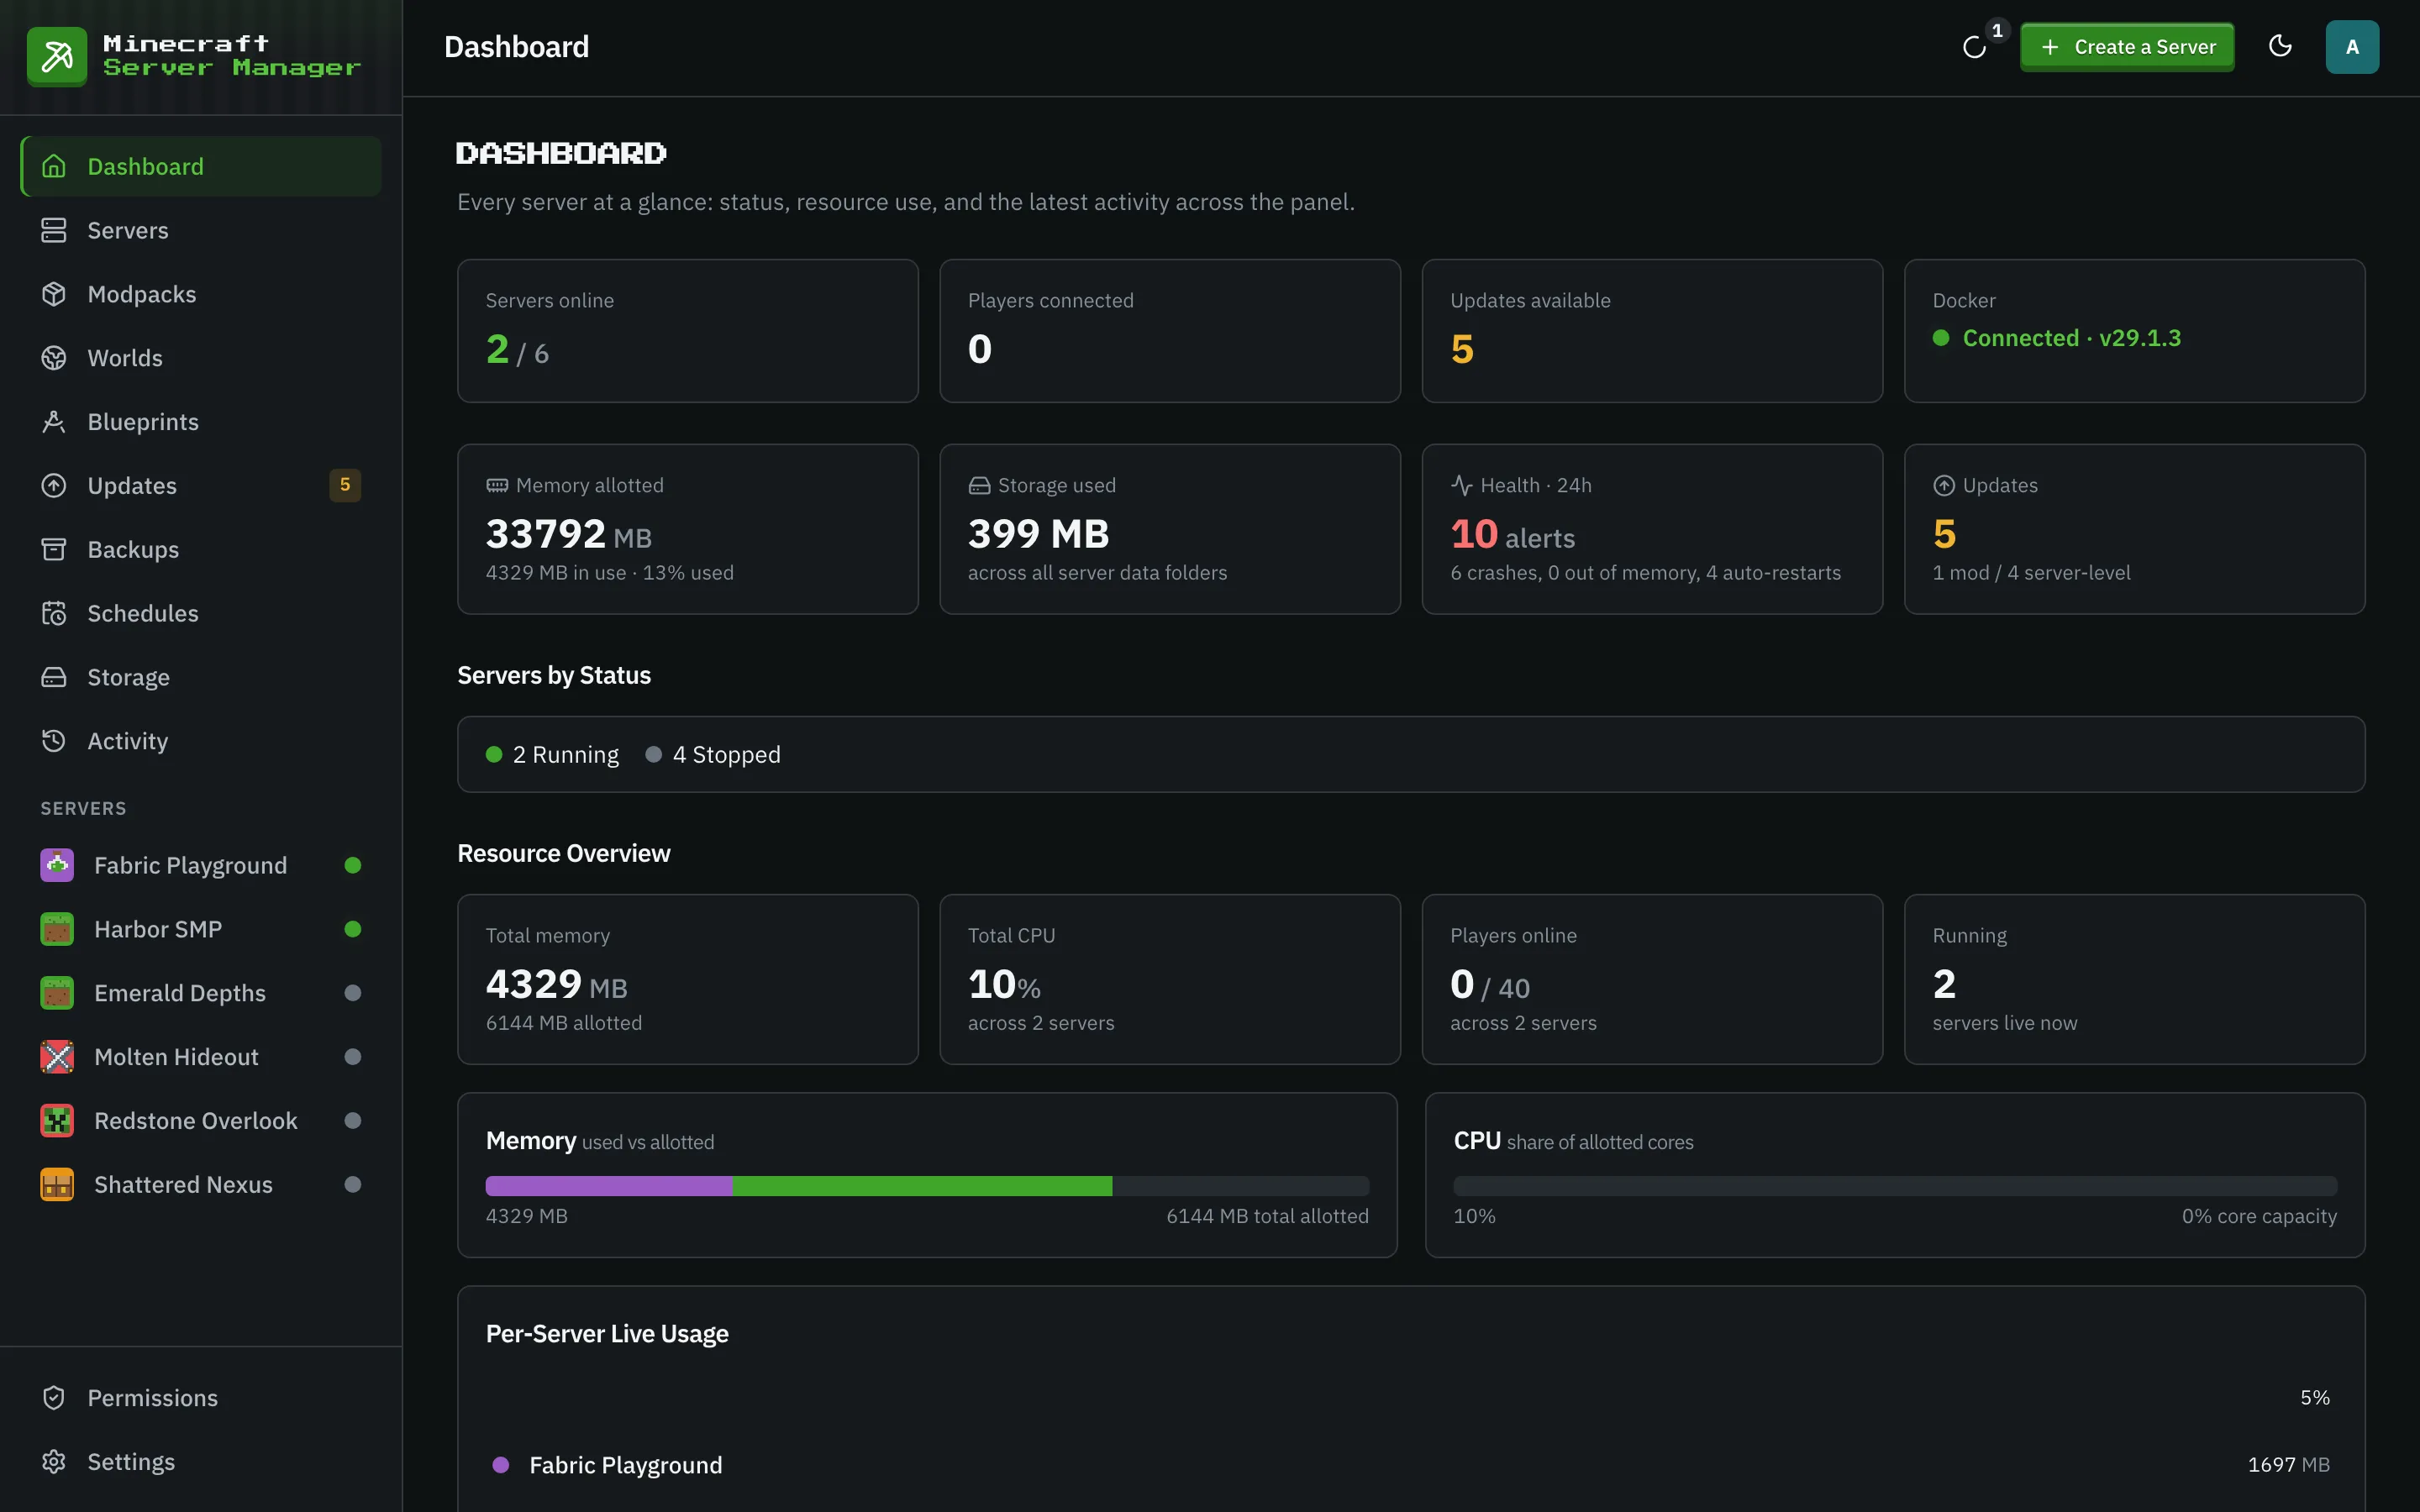
Minecraft Server Manager turns Docker into a cosy home for your servers: modpacks that stay pinned, one-click backups, schedules, a live map, player stats, and a console that speaks plain English. No bills, no lock-in, your whole panel in one folder.
- MIT licensed
- Zero paid services
- Self-hosted
Works with everything you already use
- Modrinthkeyless
- CurseForge
 Hangarkeyless
- SpigotMCkeyless
- GitHub Releases
 Vanilla
 Paper
 Purpur
 Fabric
 Forge
 NeoForge
 Quilt
- CurseForge packs
- Modrinth packs
 FTB
 GT New Horizons
- Docker
- Portainer
 Dockge
- PM2
- Linux
 Windows
- macOS
- amd64
- arm64

Up and running in minutes
Pick your machine and paste the commands. Advanced has every other way to run the panel, with the commands rewritten for your own folder and address.
- 1
Run the installer
Works on any Linux machine with a 64-bit OS, from a VPS to a Raspberry Pi 4 or 5. It installs Docker if it is missing, sets the panel up in /opt/msm, and starts it. Run it again later to upgrade.
curl -fsSL https://raw.githubusercontent.com/anefzaoui/minecraft-server-manager/main/deploy/install.sh | sudo bash - 2
Open the panel
The installer prints the address and a one-time setup PIN. Open the address in a browser, enter the PIN, and create your admin account.
http://your-server-ip:25564
- 1
Install Docker Desktop, Node.js, Git and pnpm
One line each in PowerShell. Start Docker Desktop once it is installed and leave it running.
winget install Docker.DockerDesktop winget install OpenJS.NodeJS.LTS winget install Git.Git winget install pnpm.pnpm - 2
Get the panel and start it
Open a new terminal so it finds the tools you just installed.
git clone https://github.com/anefzaoui/minecraft-server-manager.git cd minecraft-server-manager pnpm install pnpm start - 3
Open the panel
The first run walks you through a system check, your time zone, and creating the admin account.
http://localhost:25564
- 1
Install Docker Desktop, Node.js, Git and pnpm
With Homebrew. Start Docker Desktop once it is installed and leave it running.
brew install --cask docker-desktop brew install node git pnpm - 2
Get the panel and start it
The install step also builds the panel. There is nothing to compile.
git clone https://github.com/anefzaoui/minecraft-server-manager.git cd minecraft-server-manager pnpm install pnpm start - 3
Open the panel
The first run walks you through a system check, your time zone, and creating the admin account.
http://localhost:25564
Fill in the two fields and every command below rewrites itself for your machine.
- 1
Create the data folder
One folder holds everything the panel owns.
mkdir -p {{dataDir}} - 2
Download the compose file and point it at that folder
DATA_DIR_HOST must be the absolute path on the host, because Docker mounts it from the host's point of view.
curl -fsSLO https://raw.githubusercontent.com/anefzaoui/minecraft-server-manager/main/docker-compose.yml echo "DATA_DIR_HOST={{dataDir}}" > .env - 3
Start the panel
The image is multi-arch (amd64 and arm64) and updates on every release.
docker compose up -d Then open the panel
http://{{host}}:25564The first run walks you through a system check, your time zone, and creating the admin account.
- 1
Create the data folder on the host
Same folder rule: absolute path, on the machine that runs Docker.
mkdir -p {{dataDir}} - 2
Add a stack from the compose file
Paste the contents of the compose file into a new stack. The raw file is here:
https://raw.githubusercontent.com/anefzaoui/minecraft-server-manager/main/docker-compose.yml - 3
Set the environment variable and deploy
Add it in the stack's environment section, then deploy.
DATA_DIR_HOST={{dataDir}} Then open the panel
http://{{host}}:25564The first run walks you through a system check, your time zone, and creating the admin account.
- 1
Check the requirements
Node.js 24 or newer, pnpm, and Docker running (Docker Desktop on Windows and macOS).
node --version # 24 or newer docker info # daemon reachable - 2
Clone and install
The install step also builds the panel's CSS. No native modules to compile.
git clone https://github.com/anefzaoui/minecraft-server-manager.git cd minecraft-server-manager pnpm install - 3
Start the panel
By default it listens on localhost only. Set PANEL_HOST=0.0.0.0 to reach it from other machines on your network.
pnpm start Then open the panel
http://localhost:25564The first run walks you through a system check, your time zone, and creating the admin account.
- 1
Start from a source install
Run this from the cloned folder. PM2 launches apps with the Node version that started its daemon, so pin the interpreter.
pm2 start src/server.js --name minecraft-server-manager --interpreter "$(nvm which 24)" - 2
Save the process list and enable startup
pm2 startup prints one command to run with sudo; run it once.
pm2 save pm2 startup - 3
Prefer systemd?
A unit that runs node src/server.js from the cloned folder with WorkingDirectory set works the same way. The panel needs no extra flags.
Then open the panel
http://{{host}}:25564The first run walks you through a system check, your time zone, and creating the admin account.
One panel for every kind of Minecraft server
Plugins, mods, the unchanged game, or a whole modpack. Pick what you want to run and the panel handles the Java version, the downloads, and the pinning for you.
 Paper and PurpurPaper and Purpur plugin servers, with plugins from four registries and players joining on an unmodified client.
 Fabric and QuiltFabric and Quilt servers for lightweight, fast-updating mods, with a version check before every Minecraft upgrade.
 Forge and NeoForgeForge and NeoForge for heavyweight mods, from 1.7.10 classics to current packs, with the right Java picked for you.
 The unchanged gameThe unchanged game, from snapshots to old betas, with world controls, backups, and player stats around it.
 Modpack serversCurseForge, Modrinth, FTB, and GT New Horizons packs pinned to an exact version, plus your own zip or .mrpack.
Made for people who run servers, not tickets
One folder is your whole panel
Database, worlds, backups, and the shared mod library all live under a single data folder. Copy it and you have migrated.
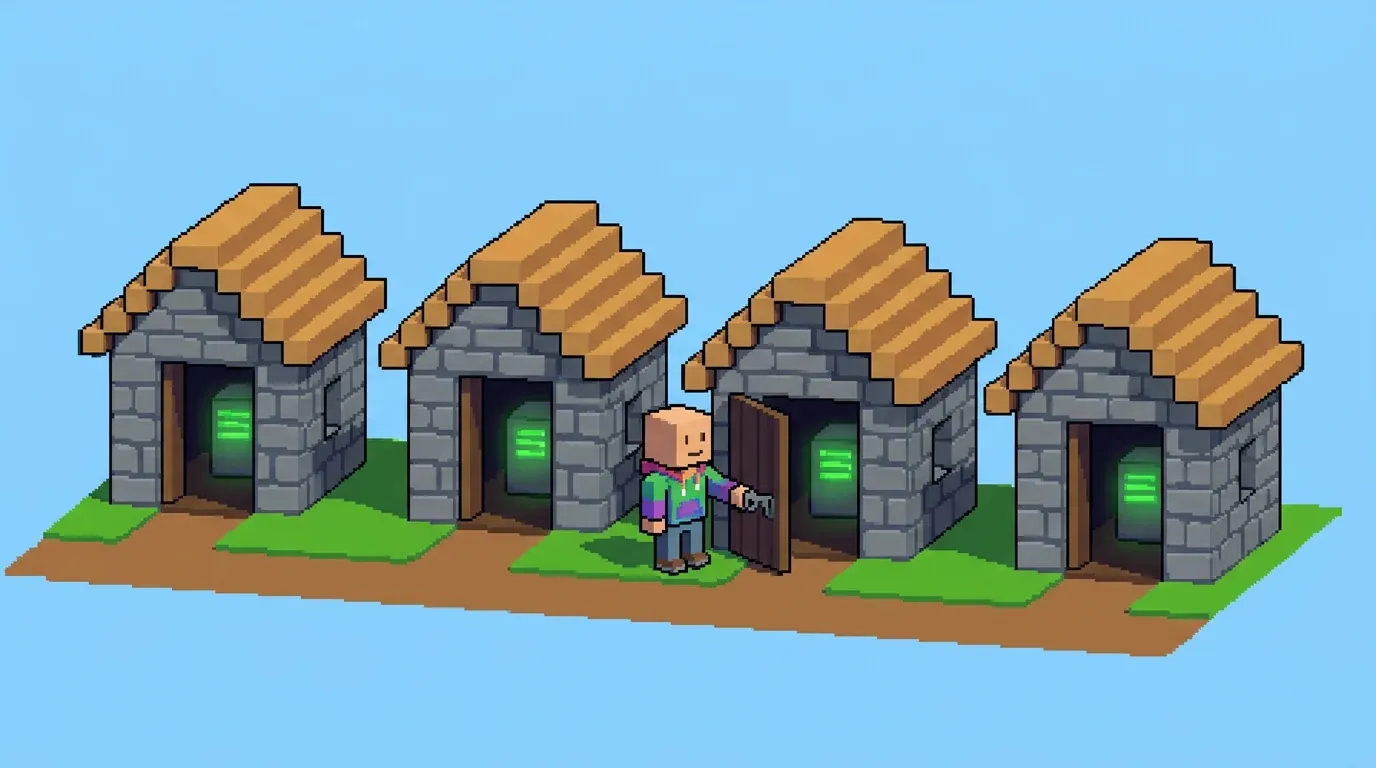
Every server is a container
Each server runs on the battle-tested itzg image with its own CPU and memory caps, graceful stops over RCON, and crash detection.
- Docker
- amd64
- arm64
Modpacks stay pinned
Packs are locked to an exact version. Upgrades are explicit, previewed, backed up first, health-checked, and rolled back with one click.
- CurseForge packs
- Modrinth packs
 FTB
 GT New Horizons
Everything a server owner reaches for
The full feature tour, from creating a server to sharing its live map.
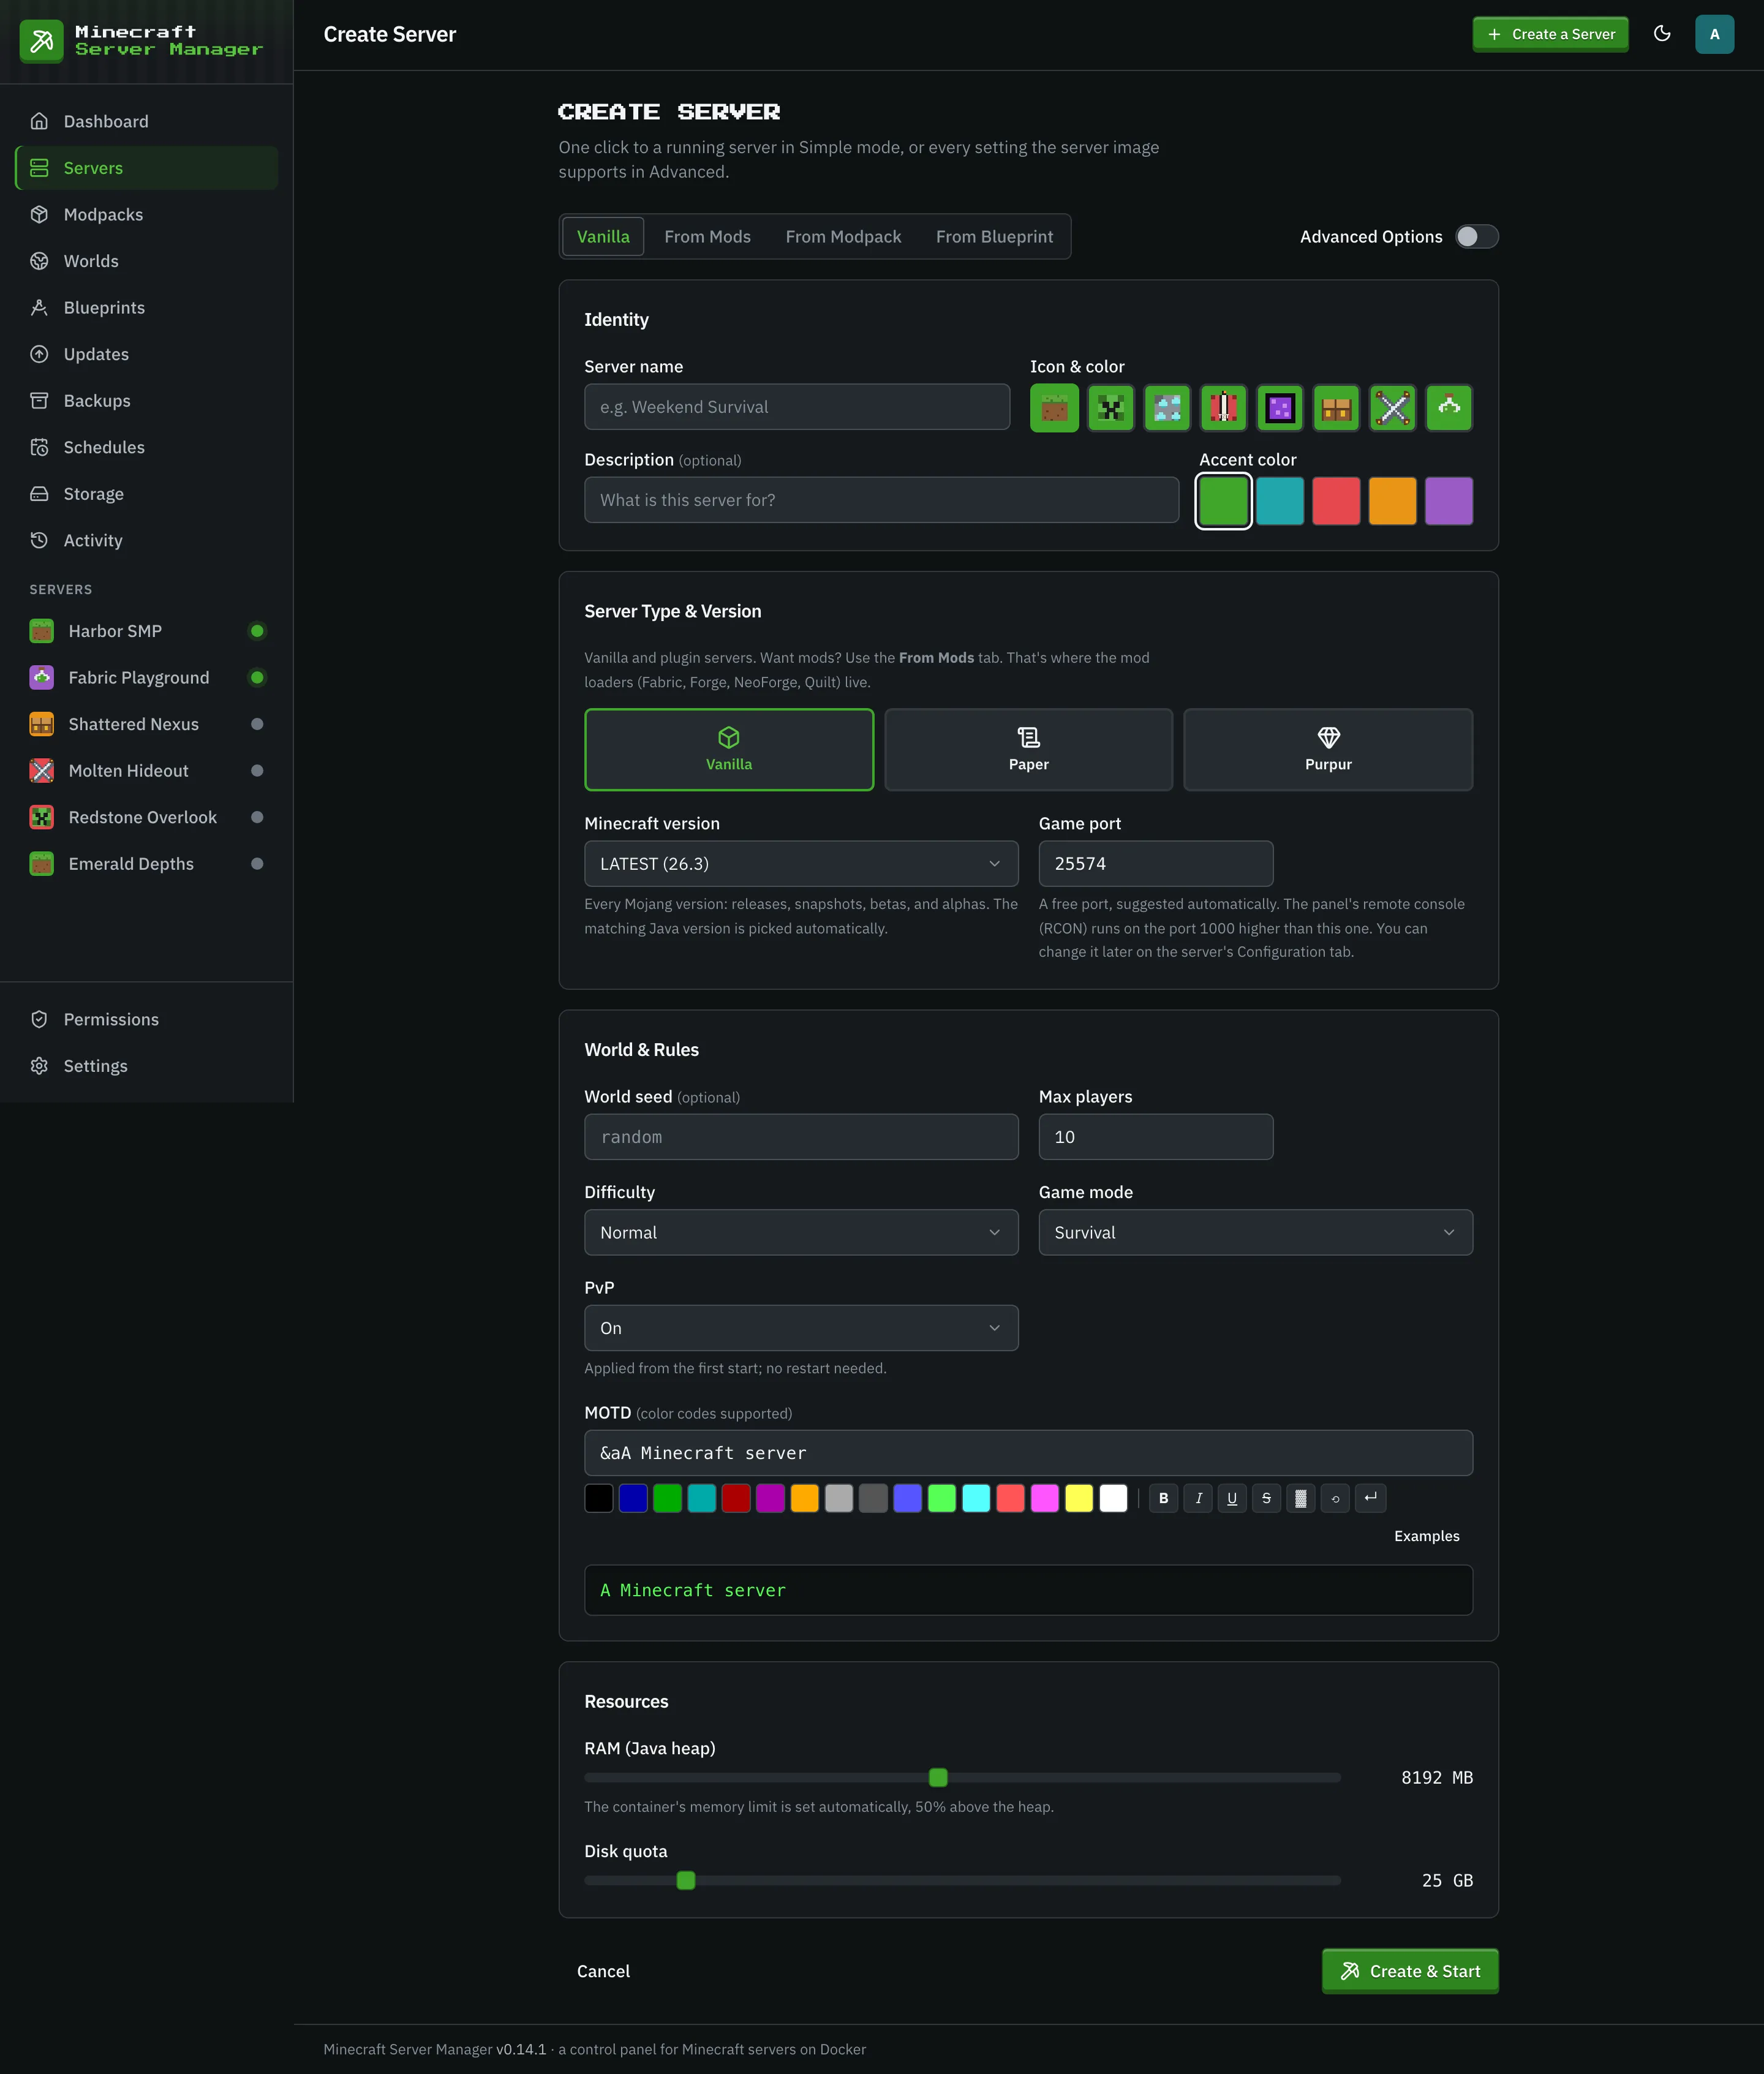
Guided creation wizard
Simple or Advanced mode, with every image setting explained in plain English before you pick it.

Five registries in one browser
Search all five from one place. Three of them need no API key.
- Modrinthkeyless
- CurseForge
 Hangarkeyless
- SpigotMCkeyless
- GitHub Releases
Checksum-verified downloads
Verified before a file reaches the server, strongest hash first. A mismatch never ships.
- sha512
- sha256
- sha1
- md5
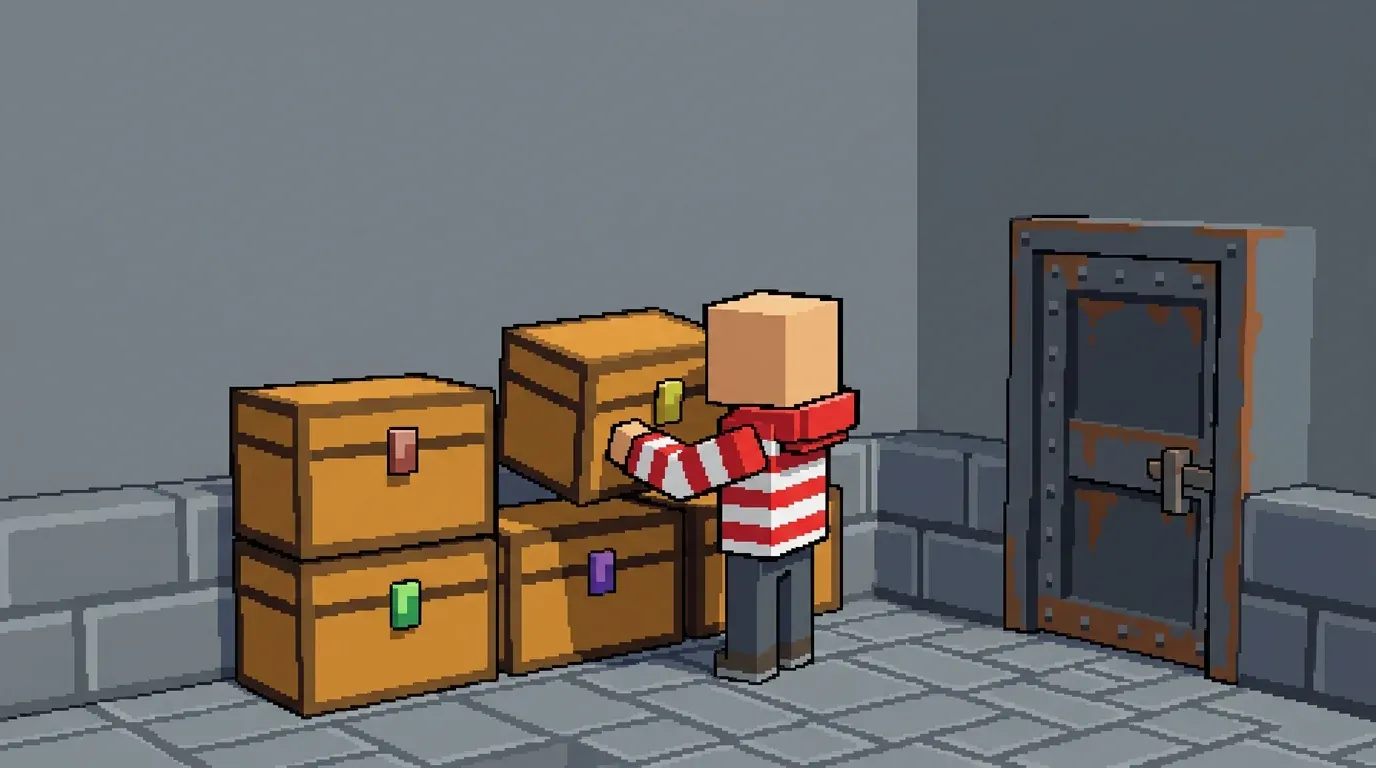
Save-safe backups
Snapshots with retention classes, restore in place, and optional world shrinking to reclaim disk.
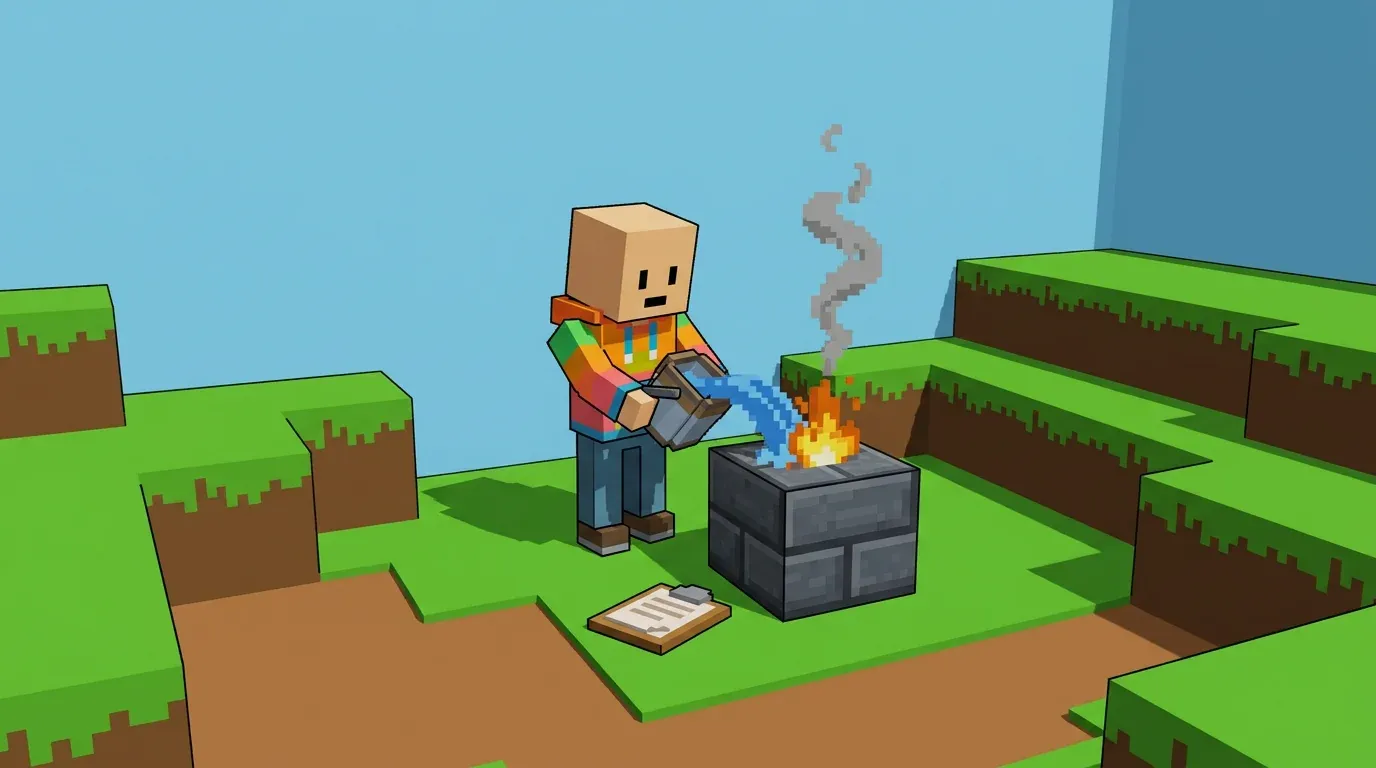
Crash forensics
Crashes are detected, parsed, and suspects named, with one-click sharing and automated insights.
- mclo.gs
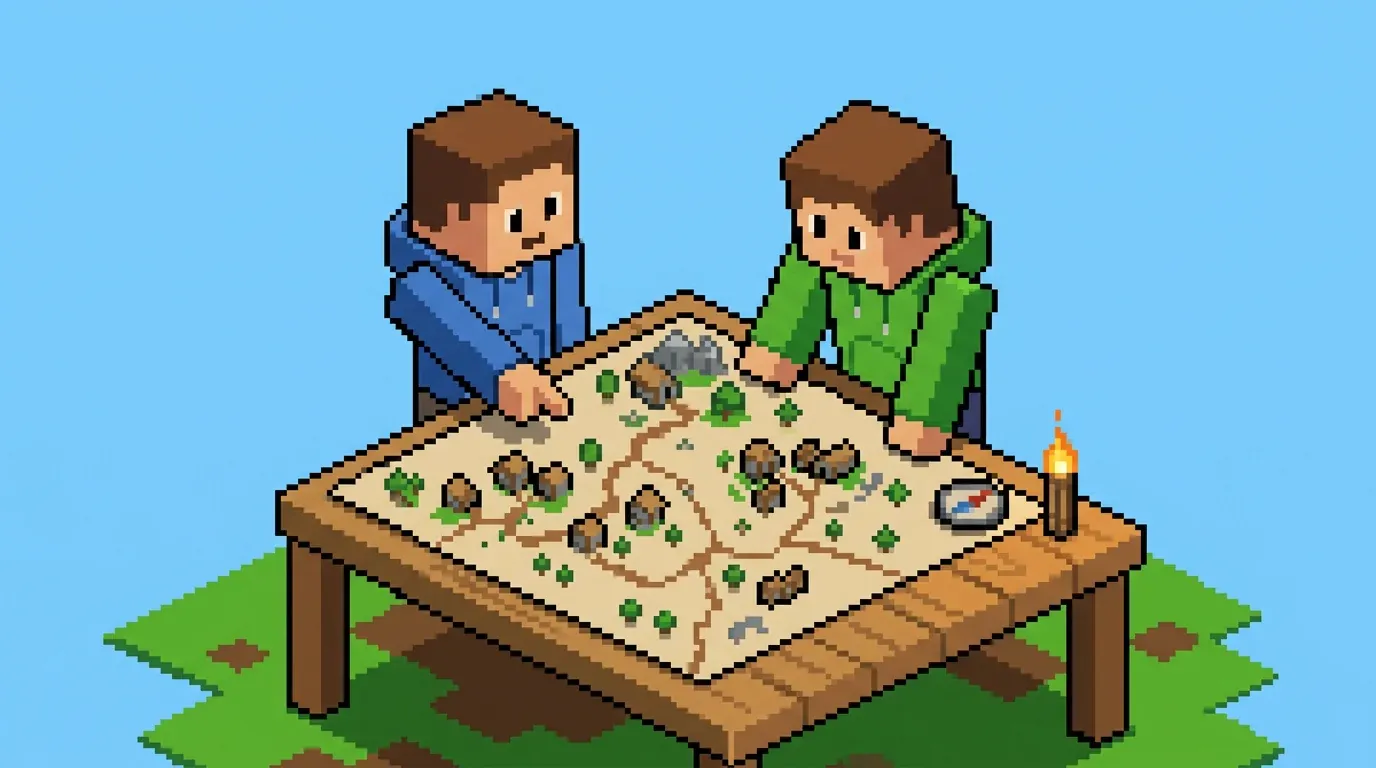
Live map
One click to a live map, served through the panel's authenticated proxy.
 BlueMap
A panel that is a pleasure to use
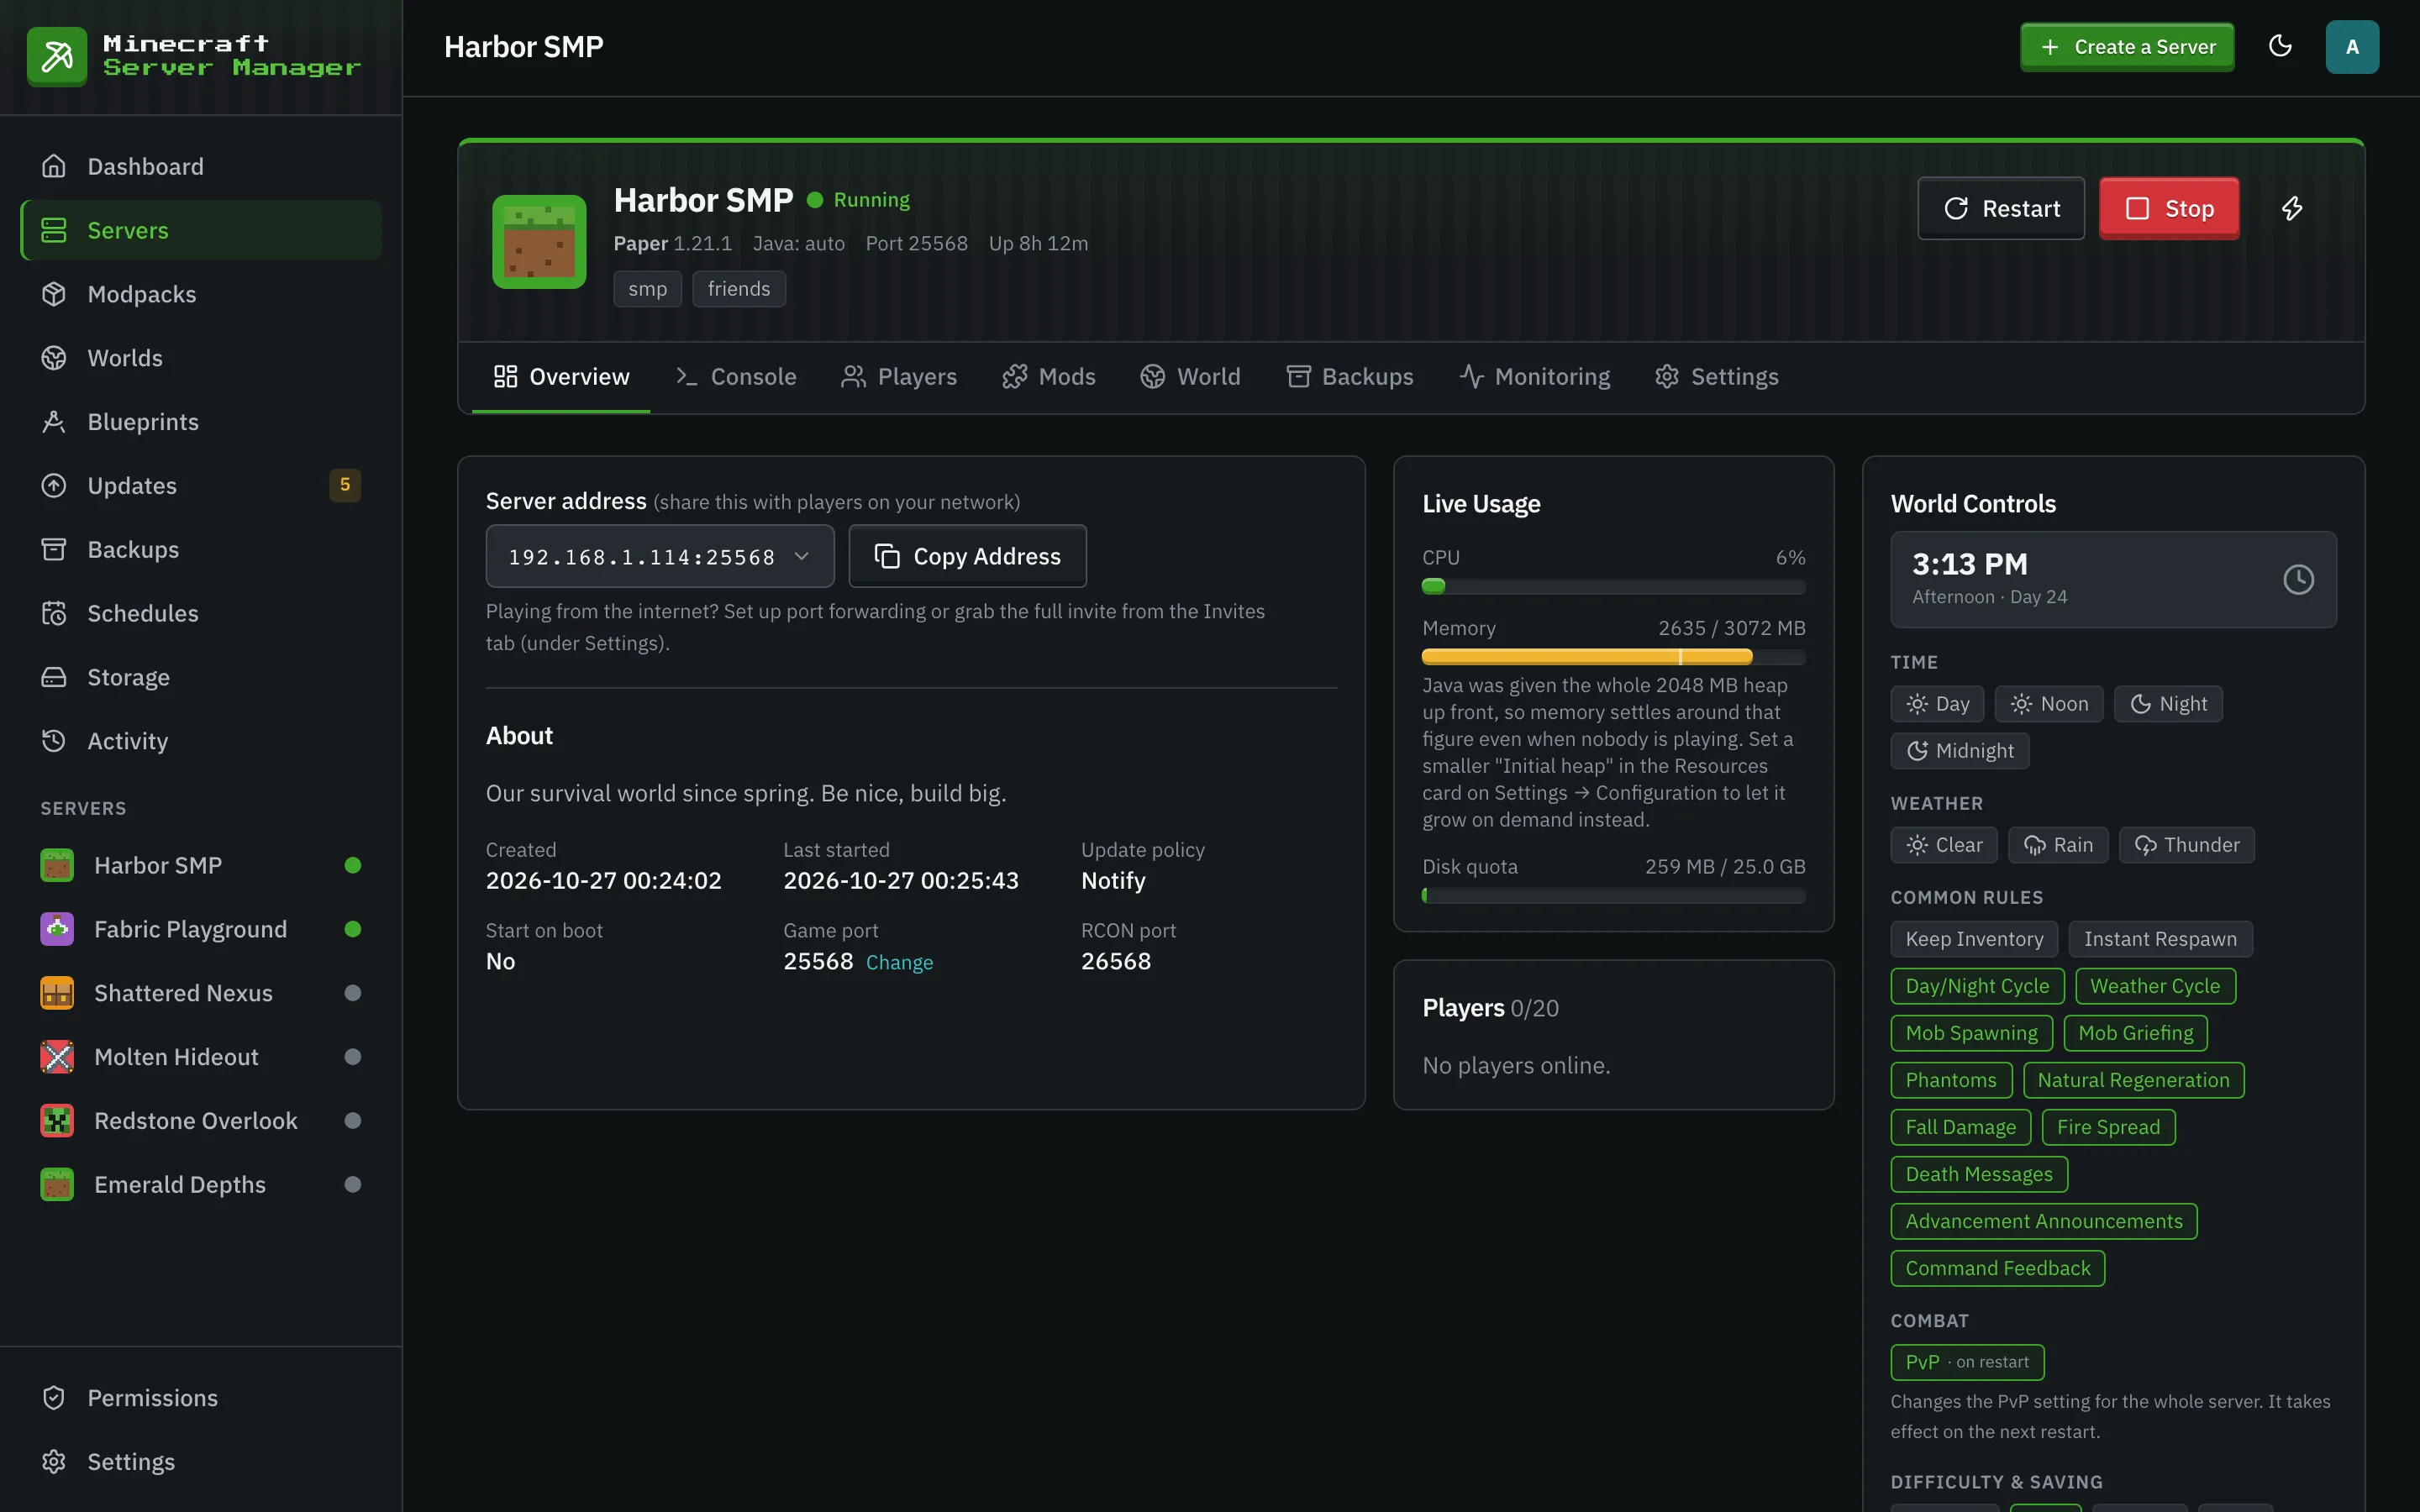
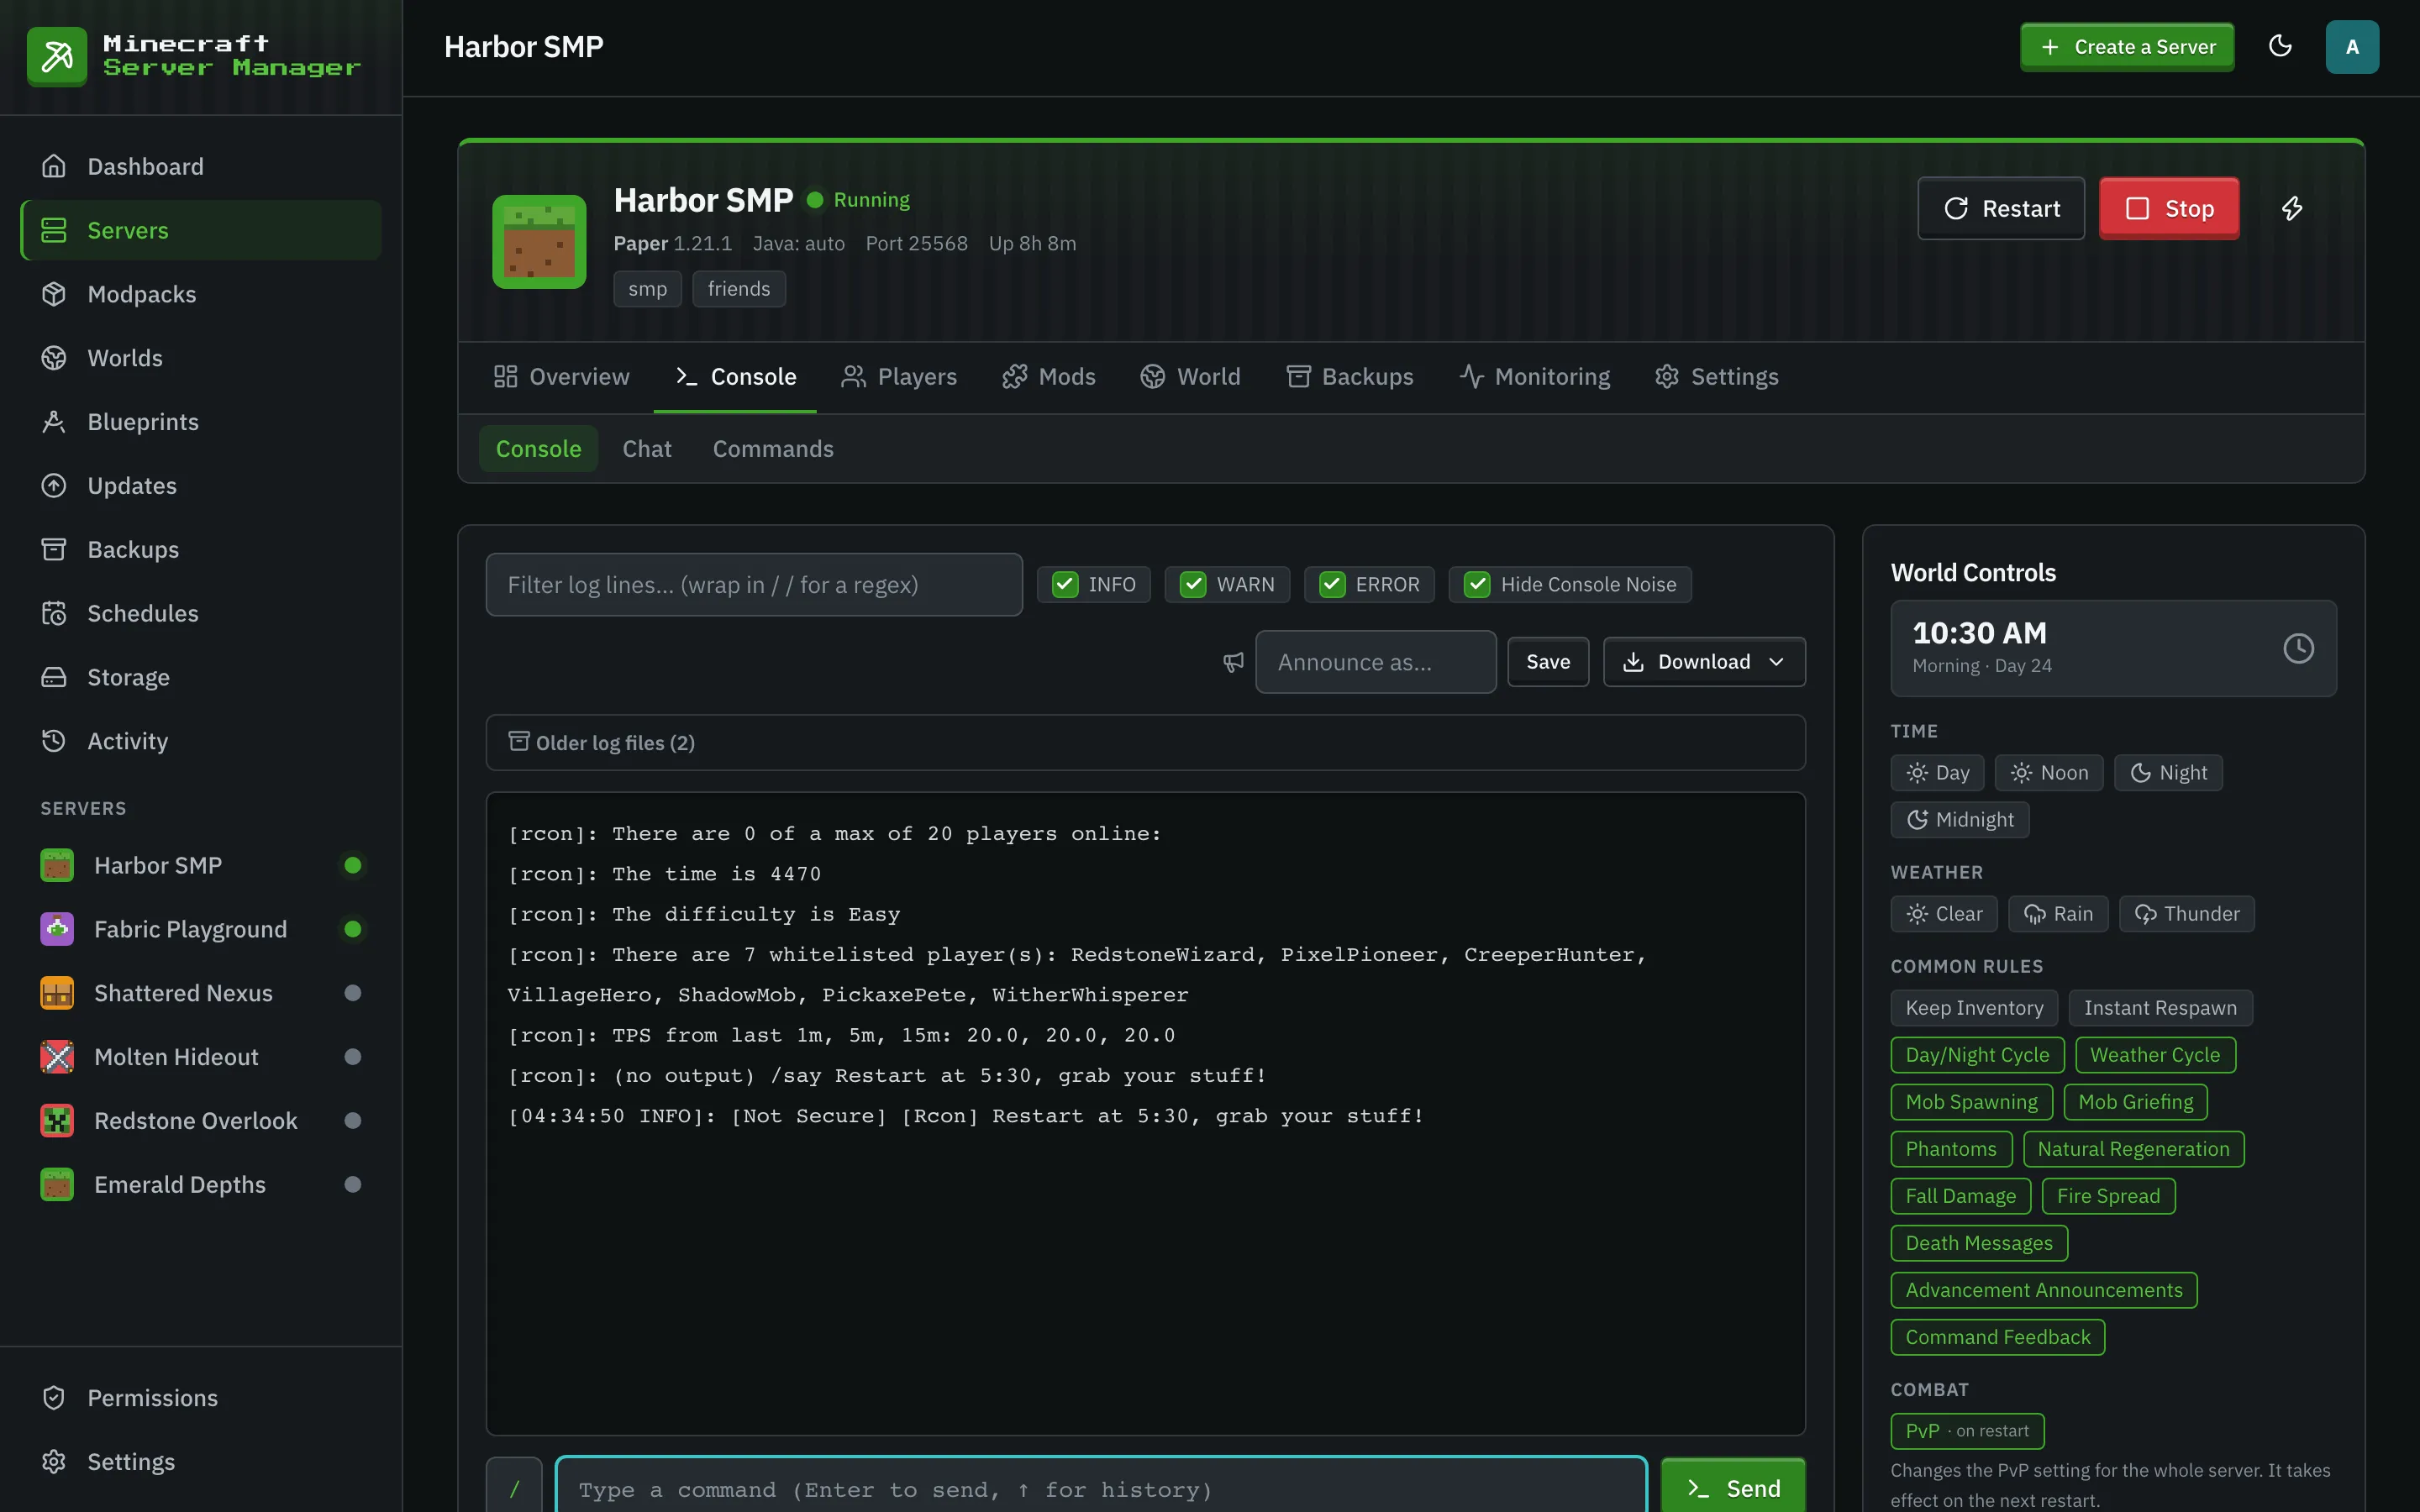
Desktop and phone. The panel is designed narrow-first, so every page works on a phone.
Guides for hosting Minecraft servers yourself
Practical walkthroughs for the setups people actually run, from a Raspberry Pi on a shelf to a machine full of servers.
Minecraft Server Panel Comparison
Several good panels can run a Minecraft server. Here is how Minecraft Server Manager differs from each of them, with the cases where another panel is the better pick.

Come say hi
Report bugs, suggest features, get help from real humans, and show off your servers.